
🌿 Achieving realistic foliage in 3D environments is crucial for immersive scenes, and SpeedTree is an industry-standard tool that excels at this. While the software offers many powerful features, getting convincing leaves often comes down to understanding a few key principles and settings. This tutorial will walk you through defining and creating leaves that look truly natural.
✳️ Why Leaves Matter in 3D Modeling
- Shape and motion define the silhouette of a tree
- Texture and translucency influence realism in lighting
- Correct orientation and variation avoid the dreaded “cardboard cutout” effect
Before diving into the settings, let’s understand how SpeedTree handles leaves:
- Leaf Generators: Leaves are typically generated using “Leaf” generators, which are attached to branches or fronds. These generators control the distribution, size, and orientation of individual leaves.
- Leaf Meshes: Each leaf generator references a “Leaf Mesh” asset. This asset defines the 3D geometry of your leaf and, crucially, its materials and textures.
- Textures: Realistic leaves heavily rely on good textures:
- Diffuse/Albedo: The base color of the leaf.
- Normal Map: Adds surface detail like veins and imperfections without adding geometry.
- Opacity Map: Defines the transparent areas of the leaf (e.g., the outline of a leaf cut from a square plane).
- Subsurface Scattering (SSS) Map: Simulates how light penetrates and scatters within the leaf, giving it that characteristic soft, translucent look.
- Ambient Occlusion (AO) Map: Adds subtle self-shadowing for more depth.
Preparing Your Leaf Textures and Mesh
The quality of your source assets directly impacts the realism of your leaves.
A. Texture Preparation
- High-Resolution Textures: Always start with high-resolution textures. Aim for at least 1024×1024 pixels, or higher for hero assets.
- Seamlessness (if applicable): If you’re tiling leaf textures, ensure they are seamless.
- Alpha Channel for Opacity: For your opacity map, embed it as an alpha channel in your diffuse texture (often a
.TGAor.PNGfile) or provide it as a separate grayscale texture. Black areas will be transparent, white areas opaque. - Calibrated SSS Map: Your SSS map should generally be a desaturated version of your diffuse, or even a solid color (like light green or yellow) where light should penetrate. Experiment with this!
- PBR Workflow: If you’re working with a PBR (Physically Based Rendering) workflow (which you should be for realism), ensure your textures are calibrated correctly for roughness/glossiness and metallic (though leaves are rarely metallic).
You’ll typically create a simple quad (two triangles) in your 3D modeling software (e.g., Blender, Maya, 3ds Max) to apply your leaf texture to.
- Simple Plane: Create a flat plane. The more complex the leaf shape, the more polygons you might need for the plane, but often a simple quad is sufficient for a starting point.
- UV Unwrapping: Ensure your plane is properly UV-unwrapped to cover the entire texture.
- Pivot Point: Crucially, set the pivot point of your leaf mesh to the base of the leaf stem. This is where the leaf will attach to the branch and is essential for realistic rotation and animation.
- Export: Export your leaf mesh as an
.FBXor.OBJfile.
🔧 Step-by-Step
1. Choose or Import a Leaf Mesh
Start by choosing a pre-made leaf mesh from SpeedTree’s library or import your custom mesh (typically a simple plane or slightly curved geometry for more realism).
📝 Tip: Keep poly count low but not too low — aim for realism with performance.
2. Apply a High-Quality Leaf Texture
Go to the Materials tab, and add a realistic leaf texture:
- Base Color (Diffuse map)
- Normal Map
- Opacity Map (or alpha)
- Specular / Roughness Map
- Subsurface Map (for translucency)
🌿 Tip: Use real photos or scan data for textures. Services like Megascans or textures.com are great resources.
3. Use the Leaf Generator
- Add a Leaf Generator Node to your tree model.
- Under “Geometry,” assign your mesh and material.
- Define placement (e.g., on twigs, branch tips, or entire branch surfaces).
Tweak:
- Leaf density
- Position randomness
- Orientation (yaw, pitch, roll)
- Scale variation (to avoid uniformity)
4. Enable Wind Effects for Natural Movement
Under the Wind settings:
- Choose a preset or add a Wind Group to your leaves.
- Adjust flutter settings for subtle movement.
- Use Gust strength and turbulence for realism in animation scenes.
5. Fine-Tune Lighting and Translucency
Under the Material settings, activate Subsurface Scattering to allow light to pass through thin leaf geometry:
- Adjust Translucency Amount and Color
- Test under direct light to ensure soft backlighting
🔍 Realistic translucency makes a huge difference in daylight renders!
6. LOD (Level of Detail) Setup
For large-scale scenes:
- Use higher-detail leaves for close-ups
- Auto-generate billboards or LODs for distance trees
This keeps your scene optimized without sacrificing detail where it matters.
7. Export Your Tree
Export your model with leaf geometry and textures for use in:
- 3ds Max
- Maya
- Unreal Engine
- Blender
Make sure you:
- Check normals
- Export PBR-compatible maps
- Clean up alpha/transparency if needed
✅ Bonus Tips
- Avoid perfect symmetry in leaves
- Add leaf edge curl in mesh or normal map
- Use a mix of healthy and dry leaves for natural variation
- In Corona/V-Ray, use 2-sided material for realistic backlight
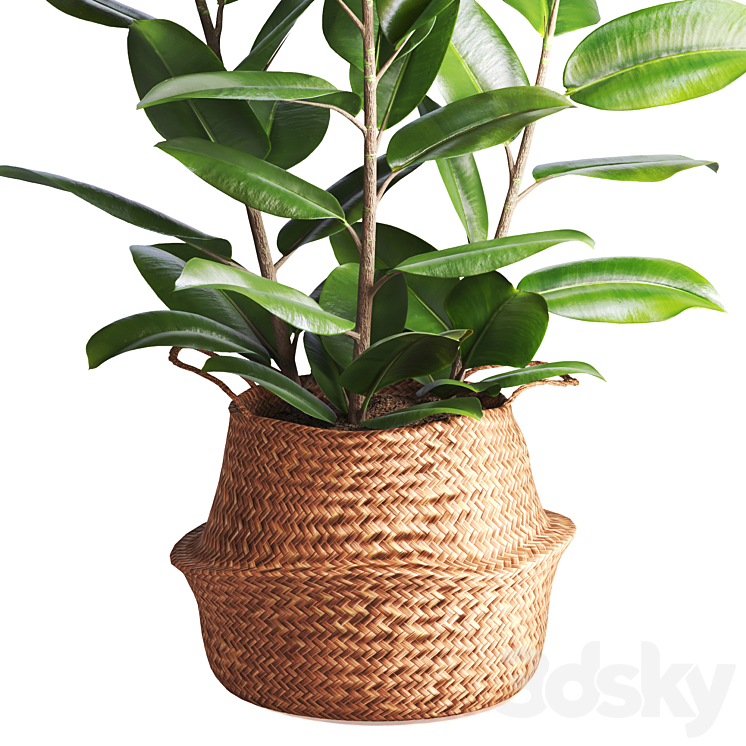
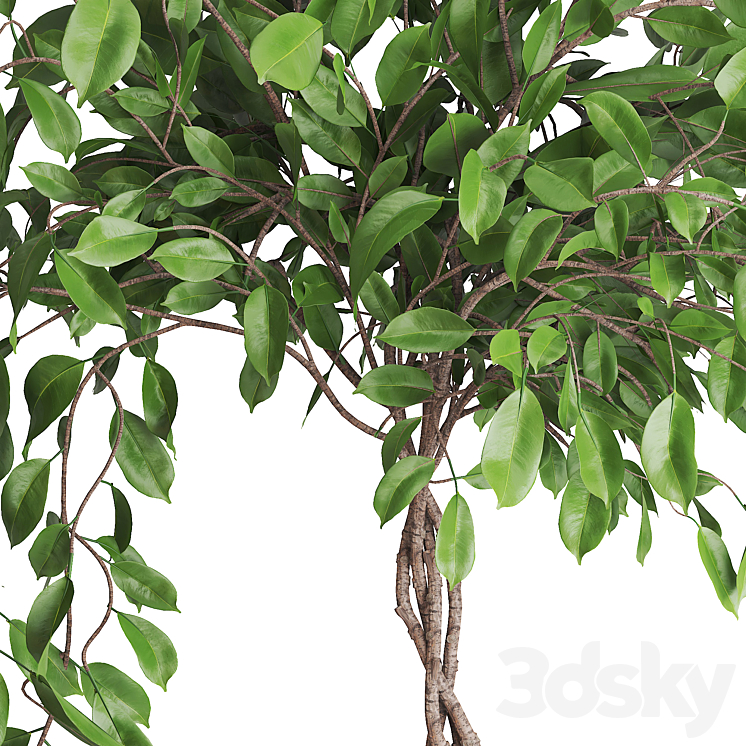
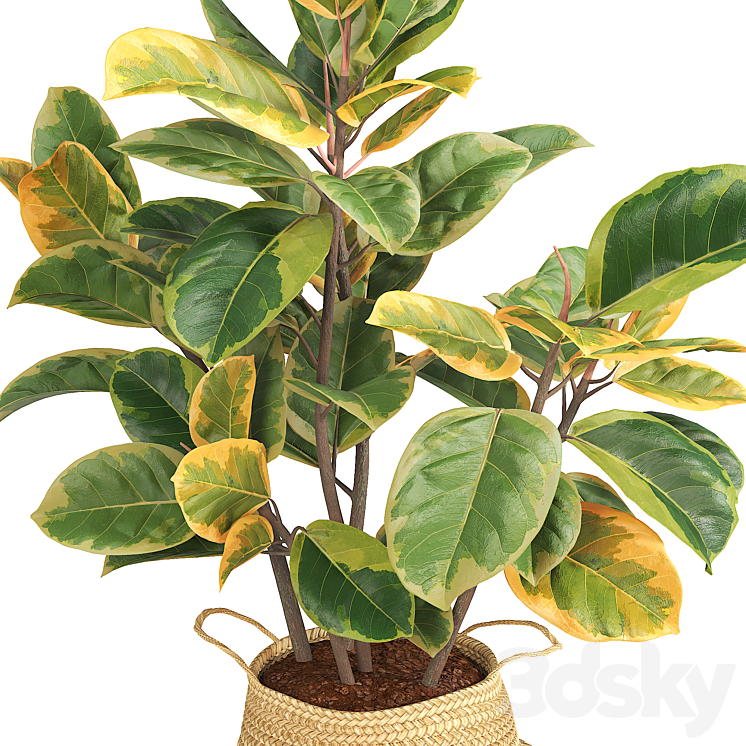
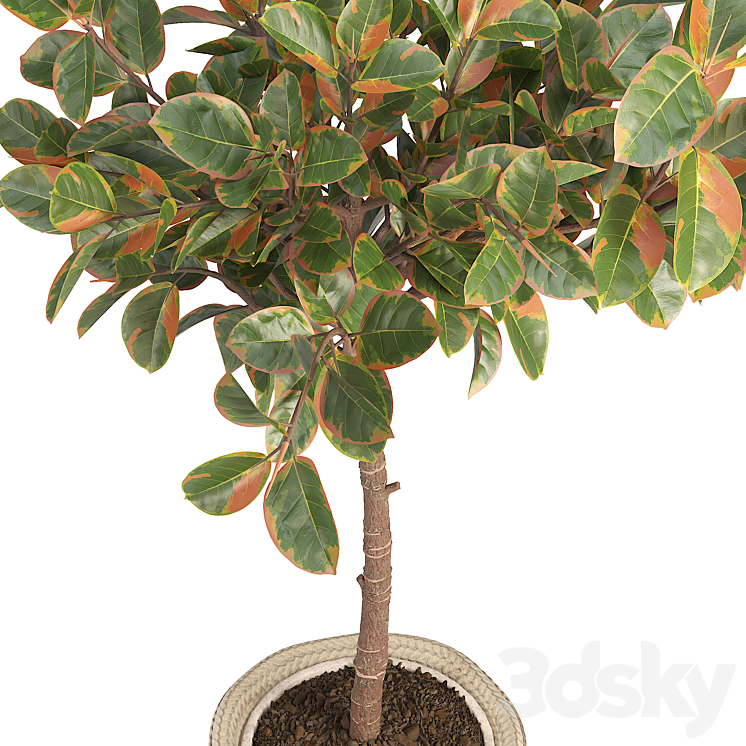
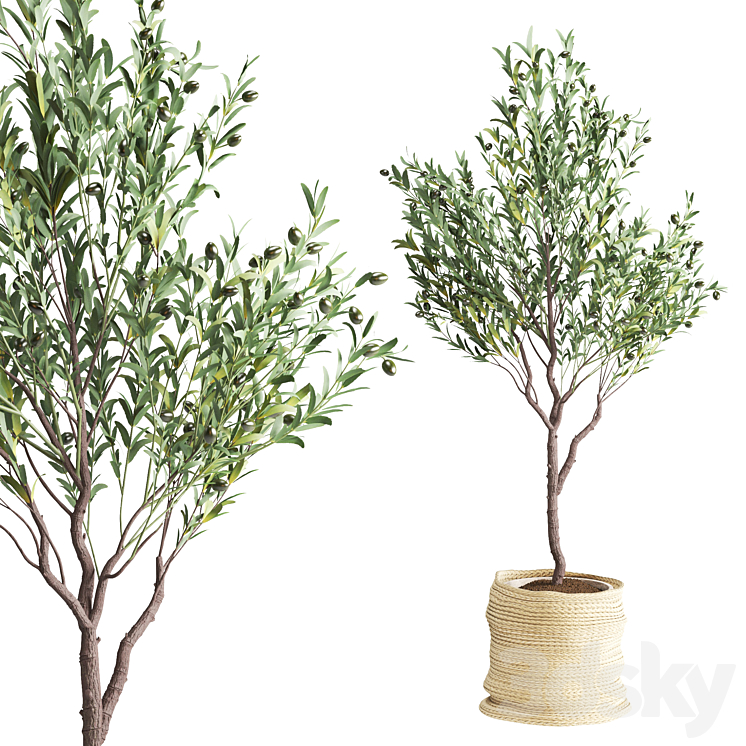
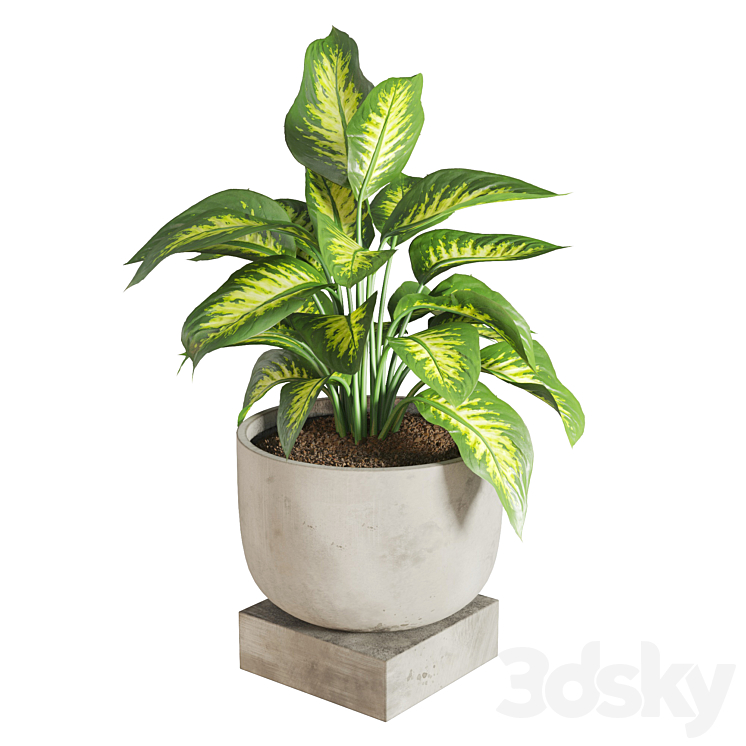
✨ Want to see how we use this in our own 3D plant packs? Check out our plant catalog here or explore more modeling tips on Artazi Designs Blog.

Leave a comment